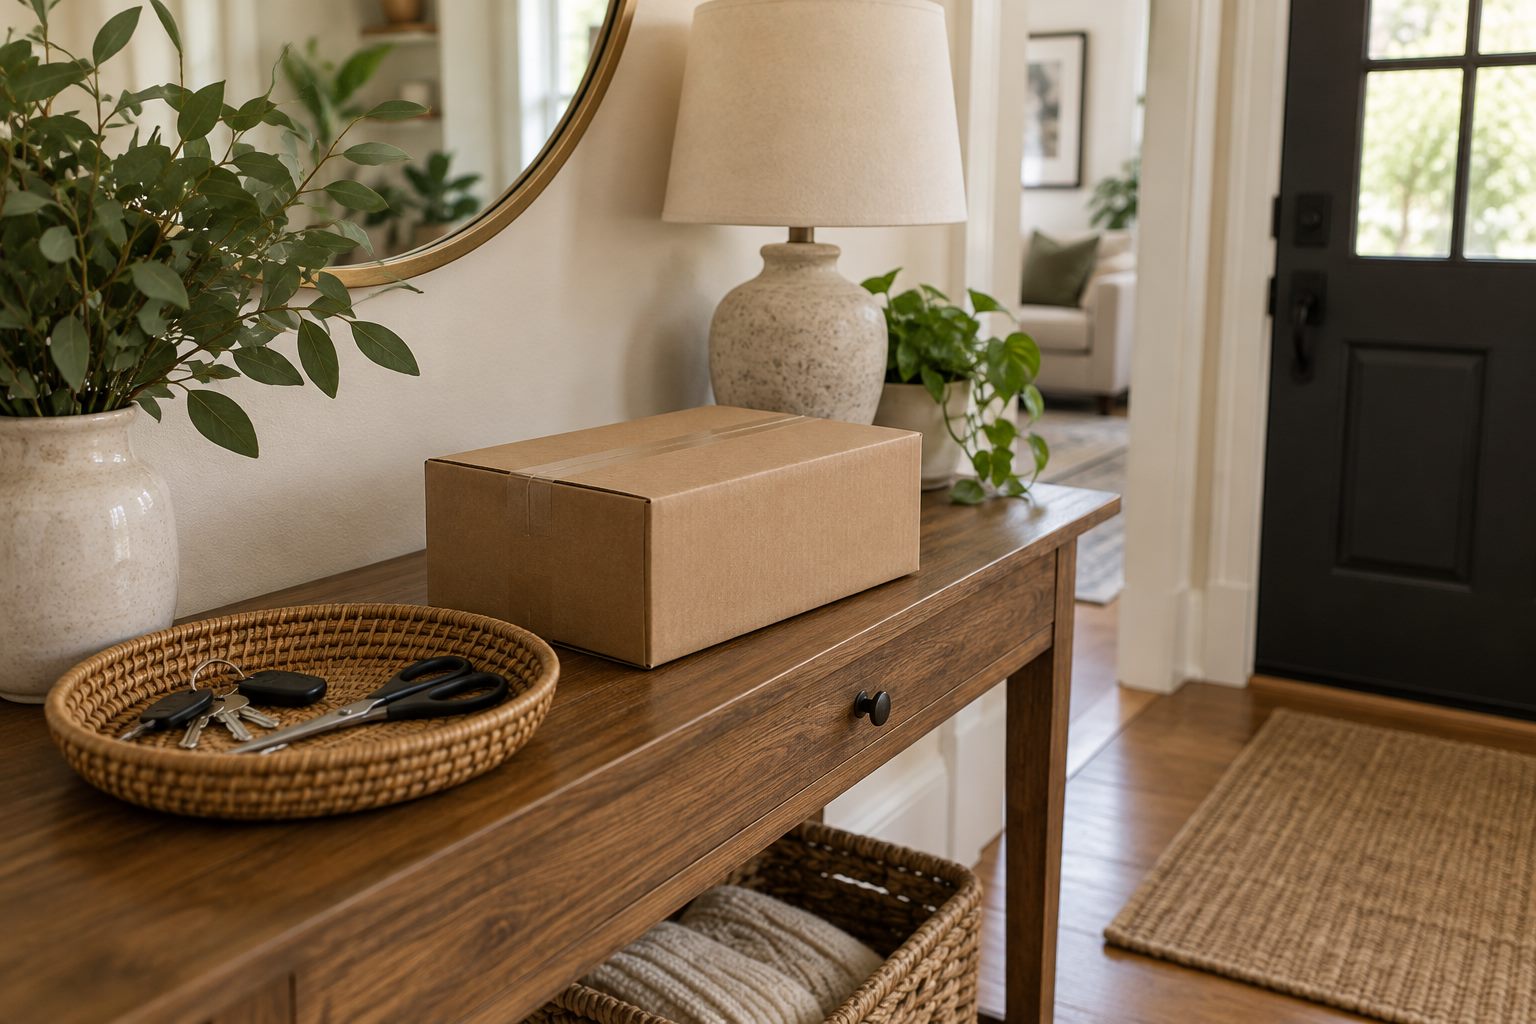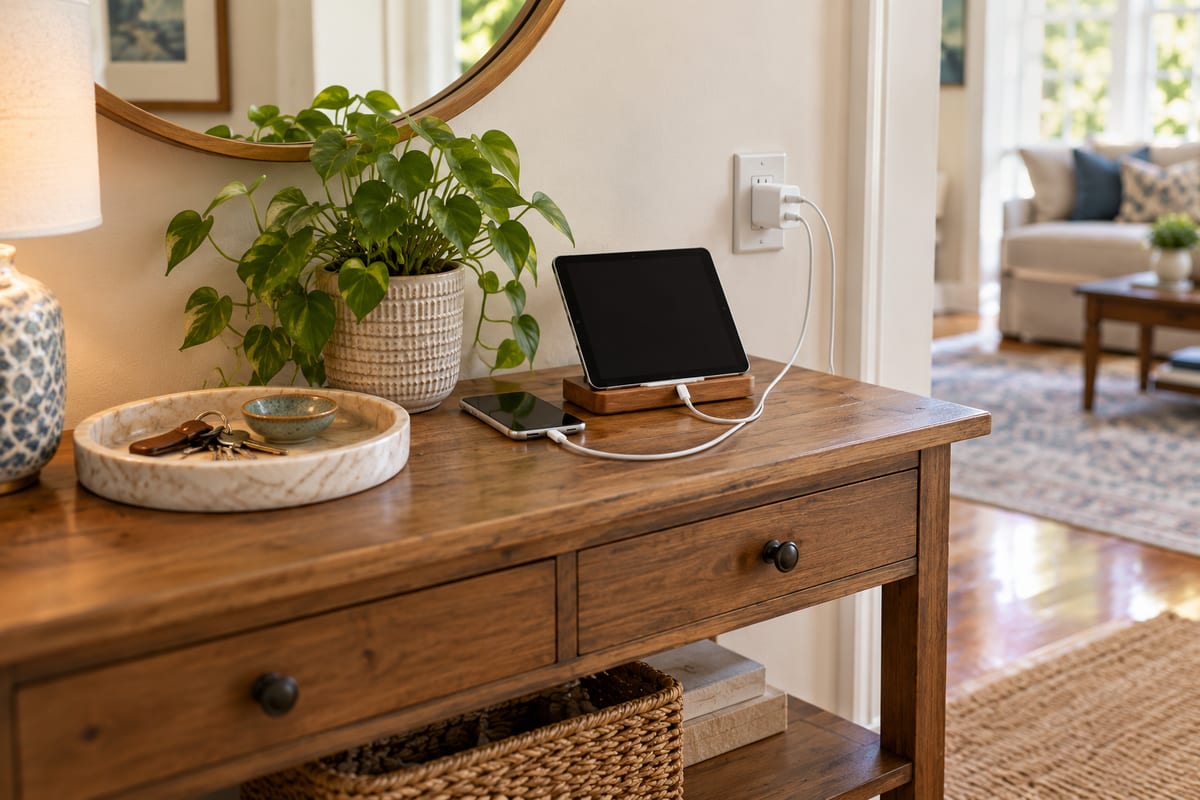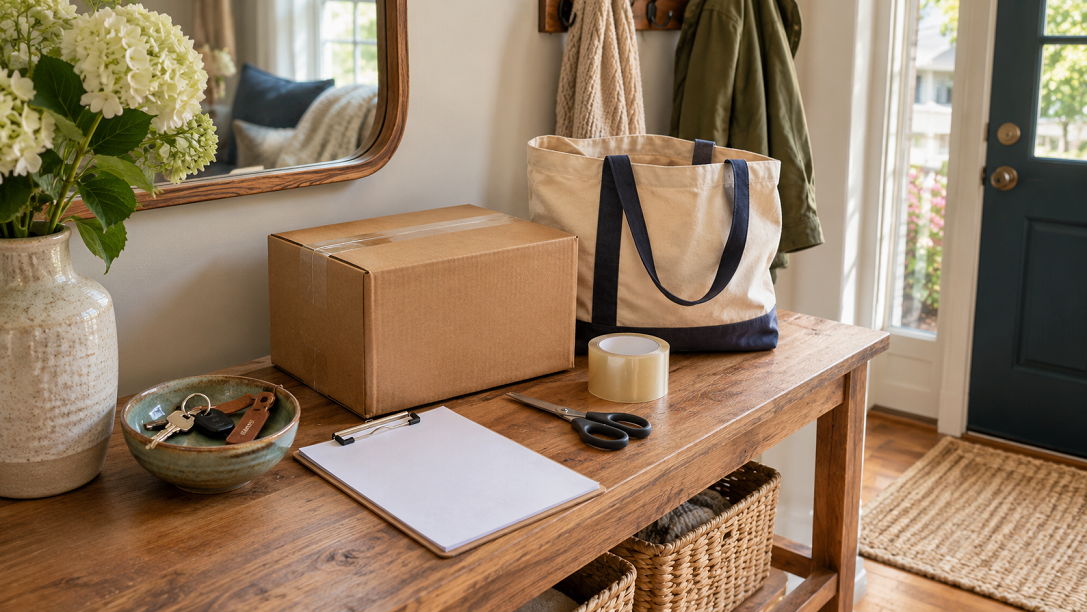
A package return can take only a few minutes, yet it often lingers by the door for days. The label is somewhere, the item needs repacking, and the next trip to the carrier has not been planned. A small return station gives those loose steps a home. It does not need to look like a shipping counter. A tray, a tote, and one clear place for packages can keep the process visible without letting it take over an entryway.
The goal is to make the next action easy to see. You want to know which item is being returned, what still needs to be done, and where the package should go when it is ready. Start with the space you already have and the kinds of returns your household actually makes.
Choose a compact, convenient location
Look for a spot near the door you use most often, such as one end of an entryway console, a shelf in a hall closet, or a corner of a mudroom. Keep the station out of the walking path and away from a door swing. If you live in a small apartment, a shallow basket on a shelf may be enough. The station should be easy to notice when you leave, but small enough that it does not become a permanent landing zone for every delivery.
Before you set it up, notice where packages usually arrive and where you tend to open them. The station can sit near that spot if it is safe and practical. If deliveries are opened in the kitchen, for example, you might keep the packaging supplies in a nearby cupboard and use a small labeled tote by the front door for finished parcels. Keeping the work in two simple places can be more convenient than carrying every supply across the home.
Give each return a visible stage
A return moves through a few stages: you decide to send it back, check the instructions, prepare the item, attach or arrange the label, and take it to the right drop-off point. Create a small place for items that still need attention and another for packages that are ready to go. Two trays, two hooks, or a simple card that can be flipped from “to do” to “ready” may be all you need.
Keep the ready area clear enough that a parcel does not get buried under new mail. If there is only room for one basket, use a short note or reusable tag to show its status. Remove items promptly once they are on their way. A return station works best as a temporary holding place, not as storage.
Check the return instructions first
Before removing tags or discarding packaging, read the retailer’s current return instructions for that order. The process can vary by item and seller. You may need a printed label, a QR code, a specific carrier, or the original packaging. Keep the order information accessible until you have confirmed what the return requires. A small envelope or document pocket at the station can hold a receipt or printed instructions while you prepare the parcel.
If a return uses a digital code, save it somewhere you can retrieve it at the drop-off point, such as the order account or the retailer’s app. Check that your phone is charged before leaving if you will need to show the code. Avoid writing passwords or sensitive account details on a note kept by the door. Use the retailer’s own instructions for questions about eligibility or timing.
Keep a small set of packing supplies
Choose supplies that solve common problems in your home. A pair of scissors, a small roll of tape, a marker, and a few reused boxes or padded mailers may be enough. Store them together in a shallow caddy or drawer so you can find them without searching. If you often receive reusable shipping materials in good condition, fold or flatten them and keep only a modest amount.
Do not save every box just in case. Packaging takes up space quickly, especially when it is kept in several rooms. Pick one shelf or container as the limit. When it is full, use what you have or recycle packaging that is no longer useful, following your local recycling guidance. If an item’s return instructions call for its original packaging, keep that packaging with the item until you know the next step.
Make an item easy to identify
When several returns are in progress, keep each item’s order details with it. A small sticky note with a short identifier such as the store name and item type can help you match a parcel to its instructions. Remove or cover old shipping labels before a reused box goes out again. Make sure the new label or code is the one associated with the parcel you are carrying.
Keep personal information from old labels out of view when you reuse a box. You can remove the label or cover it completely with the new shipping label. Check the outside of the parcel before you leave so there is only one clear destination label. If the retailer provides a packing slip or other paperwork, follow its directions about where it belongs.
Use a short checklist for the final check
A simple checklist can prevent a second trip. Before leaving, confirm that the correct item is inside, any required parts or accessories are included, the parcel is closed securely, and the correct label or code is ready. Then check the carrier or drop-off location specified in the return instructions and note its hours if you are making a special trip.
Keep the checklist short enough to scan in a few seconds. You could write it on a reusable card or save it as a note on your phone. If your returns are straightforward, you may not need a checklist at all; a consistent place for the label and parcel can be enough. Add reminders only for the steps you tend to forget.
Plan the trip when the parcel is ready
A package can wait because “take it back” is not tied to a real outing. When the parcel is ready, choose a likely errand or set a reminder for the next day you will be near the drop-off location. If the parcel has to be handed to a particular carrier, put that detail on the note or in your calendar. Keep it by your keys or bag only if it will not obstruct the exit or be forgotten in the car.
For a scheduled pickup, follow the carrier’s instructions about where and when to leave the parcel. Do not leave a package in a shared or exposed area unless the service and your building’s rules allow it. If your plans change, move the parcel back to its designated spot so it remains visible and secure.
Keep family members in the loop
In a shared home, decide who is responsible for each return. One person can prepare the parcel while another takes it along on an errand, but make the handoff clear. A note with the next action and the person handling it can prevent duplicate work or a parcel being assumed complete when it is not.
For children or other household members, use plain labels and keep scissors, tape, and any private order information in a place they can access appropriately. The station does not need a complicated family tracking system. A visible “needs packing” and “ready” distinction will often answer the key question.
Reset the station after each trip
When you drop off a return, remove its note and clear any supplies you used. If you receive a receipt or tracking confirmation, keep it in the place where you manage order records until the return is complete. Then put the supplies back and take a quick look at what remains. This small reset means the next return starts with a clear space.
If packages regularly pile up, find the point where the process is stalling. Perhaps labels are hard to find, packing supplies are stored too far away, or errands are not planned. Change that one step before adding more containers. A bigger station rarely solves a process that is hard to remember.
Adjust the setup to your home
In a home with a closet near the entry, a labeled shelf can keep parcels out of sight while making them easy to retrieve. In a shared building, a small tote can gather a parcel and its instructions for the next trip downstairs. If you have frequent deliveries, consider limiting the station to one or two active returns and moving older items along before starting more.
Keep the arrangement flexible. The station should shrink or expand with your actual needs, and it should not block a hallway, cover a heater, or interfere with household safety. If the space feels crowded, move supplies to a drawer and leave only the current parcel visible.
A small system is enough
Start with one clear surface, a place for instructions, and a small supply caddy. Use the setup for a few returns, then remove anything you did not reach for. Add a second stage or reminder only if it solves a real problem. The purpose is to help you finish the return with fewer searches and fewer forgotten errands.
Once each parcel has a place and a next step, the station can stay simple. Check the retailer’s instructions, prepare the package, put it in the ready spot, and connect the drop-off to an outing. A few repeatable actions can keep a small task from lingering around the door.